Subscriptions are used to export discoveries, presentations, publications, and tabulations on a scheduled basis and either make them accessible to you through one of your distribution locations (the Bulletin Board, by default) or share them with a distribution list of other users.
Once you've saved your file, open the Subscribe dialog and configure your new subscription.
Note: Subscriptions are only available with the Enterprise Edition license.
Launch the Subscribe dialog
In the Discover, Publish, and Tabulate apps, the Subscribe button can be found on the status bar (right-hand side), above the canvas:

In the Content Manager, you can create, edit, and monitor subscriptions from the Actions panel. For more information, see Subscriptions for Analysts or Subscriptions for Pros.
If you open a discovery in the Viewer Client using a direct URL link or link-back from a publication, the Subscribe button is typically found in the:
- Visualization panel - The option opened from the Hamburger Menu at the top-left (this panel is similar to the Present Runtime Menu below).
- Dashboard Menu - The Navigation Bar along the top of the browser:

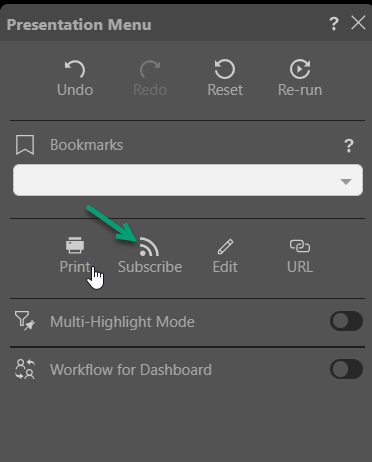
In Present, the subscribe button can only be found in the Present runtime menu (accessed from the Hamburger menu) when the presentation is running:
Tip: You can also schedule builds of publications. For more information, see Scheduling.
Subscribe dialog
You can work through the tabs in the Subscribe dialog to configure the subscription. This includes naming and describing your subscription, configuring the schedule for the subscription job, and configuring the list of recipients and method of distribution.
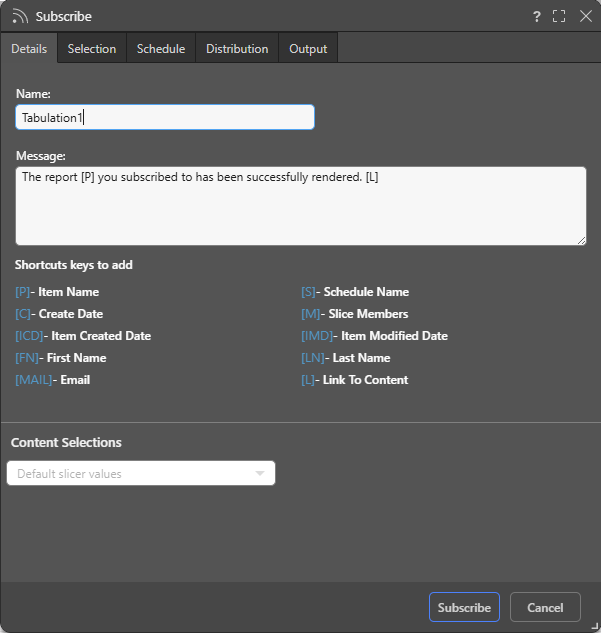
Details
- Name: Supply a name for your subscription. By default, the subscription name is based on the file name.
- Message: Add a message that describes the purpose of the subscription. You may include "Shortcut keys" in your message. These variables will be replaced with an actual value on generation, for example, [L] will incorporate a Link to the content.
Content Selections
Note: The Content Selections field is only available in Discover, Present, Tabulate, and the Viewer Client.
If the file contains slicers, you can use the Content Selections dropdown list to indicate which slicer selections to include in the exported content:
- Default slicer values: The default slicer value will be used for the subscription.
- Current slicer values: Presentations only. The value displayed at runtime when the subscription was started is the value that will be used in the subscription.
Selection
Note: The Selection tab is only available in Tabulate.
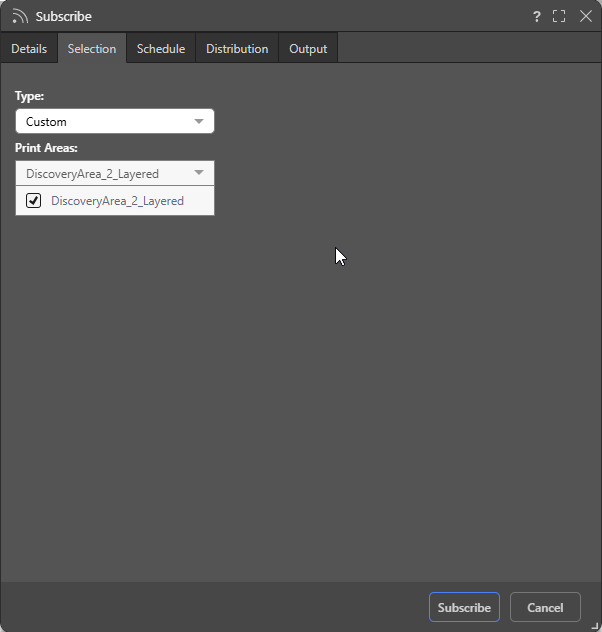
Type
- Print Area: Select the Print Area for the subscription.
- Custom: Select custom, and then select one or more Custom Print Areas (Visual Areas, Discovery Areas, or Print Areas) from the multi-select dropdown list.
Schedule
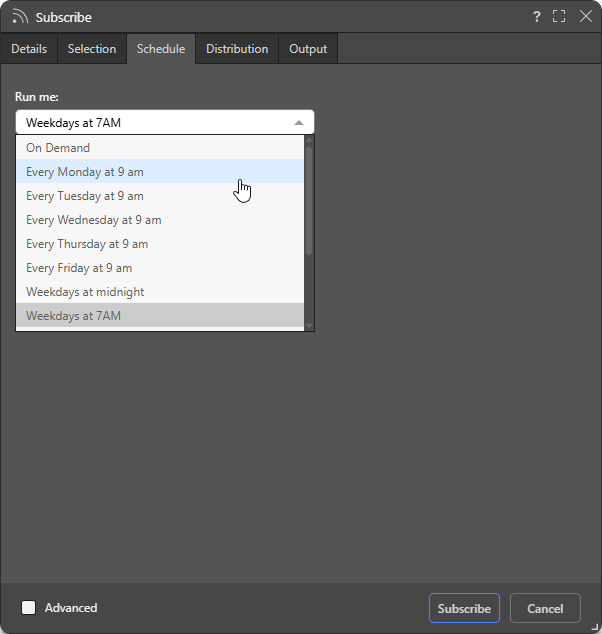
Configure the Schedule for the subscription job:
- On Demand: Select On Demand to trigger the schedule either when the underlying data model is reprocessed or through an API call.
- <Preset>: Select one of the Preset options, such as "Every Monday at 9am," to create a simple, repeat schedule for your subscription.
- Select the Advanced checkbox at the bottom of the dialog to create a custom schedule using the advanced options.
Tip: When you select an "Every..." preset and today's start time has already passed, you can still run the schedule today by selecting Run now in Advanced settings.
Important: For subscriptions, the schedule run time acts as the current date when evaluating date-based filters that use functions. This means that, if your report contains a date slicer where the Last Month function has been selected, the slicer selection will be the last month relative to the schedule execution time and not from a fixed date. For more information, see Dynamic Dates.
Note: Pyramid uses your time zone for the time and date settings by default. If you want to check that it has selected your time zone correctly, or you want to schedule times and dates in a different time zone, use the Timezone option in the Advanced settings.
Note: With the Advanced checkbox selected, you can configure either a Recurring schedule or an On Demand schedule.
Recurring Schedule
Recurring schedules run on a regular frequency. Once you select the frequency of the schedule, you can set it to run at specified intervals; for example, every Monday, every quarter, or every two weeks:

- Run Now: Select this checkbox to run the schedule immediately.
- Hourly: Run the job every x hours and y minutes, starting from the specified Start time and date.
- Daily: Run the job either on the selected Specific Days or every x days (Days Interval).
- Weekly: Run the job every x weeks on the selected Days.
- Monthly: Run the job every x quarter, month, or all, based on the following pattern:
- Week and Days: Run the schedule during the specified week of the given months, on a given day.
- Calendar Days: Run the schedule on a given calendar day or on the last day of the month.
- Workdays: Run the schedule on a specific working day (Days) during the month, or on the last working day of the Month.
Tip: Your First Workday is configured by the Administrator as part of the tenant default configuration. Your workdays are typically Monday through Friday.
Start and End
For each recurring schedule option:
- Start: The date and time when the job starts running. All schedules need a Start date and time.
- End: Optional. The date and time when the job will stop running. If no end date and time are given, the schedule will continue running indefinitely.
Timezone
- Timezone: The timezone that your schedule should occur in. This is particularly important when building publications for a global audience.
On Demand Schedule
On Demand Schedules are used to trigger the rendering of specified publications, alerts, and subscriptions when the underlying data model is reprocessed or when the schedule is prompted using an API.
To configure on demand scheduling for the subscriptions, choose On Demand from the Schedule tab, either from the regular settings or the advanced settings. You must also configure on demand subscriptions for the relevant data models using the Master Flow or API.
- Click here to learn more about configuring the schedule.
Distribution
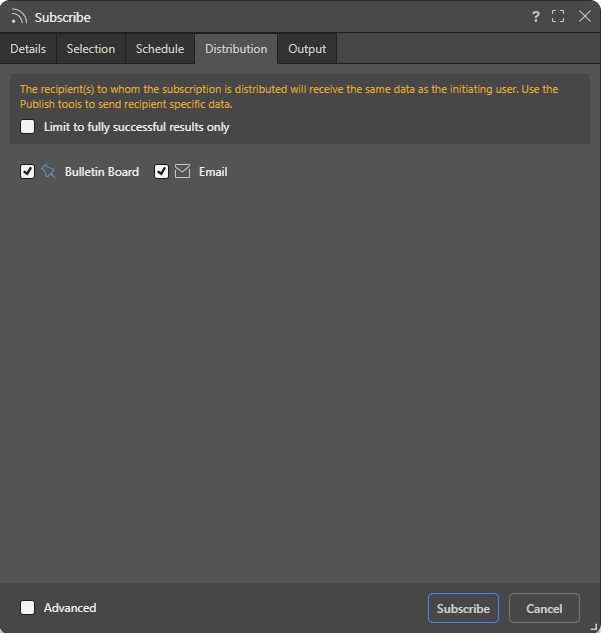
Limit to fully successful results only
Select the Limit to fully successful results only checkbox to prevent automatic distribution where content was not built completely successfully; that is, where a scheduled build "finished with errors" (or is a "Partial Success" in the language of the Task Manager):
- Where this option is not selected (default), the output is built and automatically distributed according to the schedule. The broken item is simply excluded from the output.
- Where this option is selected, the output is built with the missing broken item but it is not automatically distributed. You can still view the built output in the Schedule Manager.
Basic Distribution Options
Use the checkboxes to subscribe as yourself:
- Bulletin Board: Receive subscribed output through the Pyramid Bulletin Board.
- Email: Receive subscribed output by email.
Advanced Distribution Options
For discoveries, presentations, or tabulations, you may be able to select the Advanced checkbox at the bottom of the dialog to create a custom distribution to other users. The functionality available is sensitive to the User subscription mode selected in the Admin Console. There are three modes: normal, personal and strict.
Normal
In normal mode (default), the following distribution options are available:
- Bulletin Board: Distribute to a list of existing users or roles (groups) using the built-in Bulletin Board interface.
- Email: Distribute to a list of any email addresses. Note: You may have an option to include a link to the content item.
- Phone: Distribute to a list of any users using SMS.
- Channel: Distribute to any channel Webhook. Note: You have an option to include a link to the content item.
You can distribute the subscription to multiple destinations, but the selected destinations must include one of either Bulletin Board or Email. This is because phone and channel distribution do not involve sending the subscription output (the actual exported report). The output itself can only be sent through the Bulletin Board or email.
Warning: In Normal mode the subscription runs as the initiating subscriber, and any other recipients of the distribution get the same outputs with the SAME DATA as the initiating subscriber. Use Strict mode to allow each recipient to see their own data sets in generated outputs.
Personal
In personal mode, the user can only subscribe as themselves to the Bulletin Board, Email or Phone distribution end points using their own personal details.
Strict
In strict mode, the subscription is run with each recipient's own data security - allowing one subscriber to enroll multiple users, and still allowing each user to get a user-specific report output.
The following distribution options are available:
- Bulletin Board: Distribute to a list of existing users or roles (groups) using the built-in Bulletin Board interface.
- Email: Distribute to a list of existing users or roles (groups) using email. Note: You may have an option to include a link to the content item.
Unlike normal mode, the strict mode only allows existing system users to be added as recipients that meet certain criteria: the recipient user or role must have access to the content item, the underlying data source, and must be part of the same tenant. If they meet these standards, they will appear as green items in the search list and can be added to the recipient list. Otherwise they will appear red, and will be rejected.
- Click here to read more on using strict mode and configuring role and end user security for subscriptions.
- Click here to learn more about Advanced Distribution configurations.
Output
From the Output tab, choose the required output type, then set your preferences for that selected output. The options on this tab are typically the same in the Print and Export dialog.
Note: There is no option to spool the print job, because this is not relevant for scheduled subscriptions.
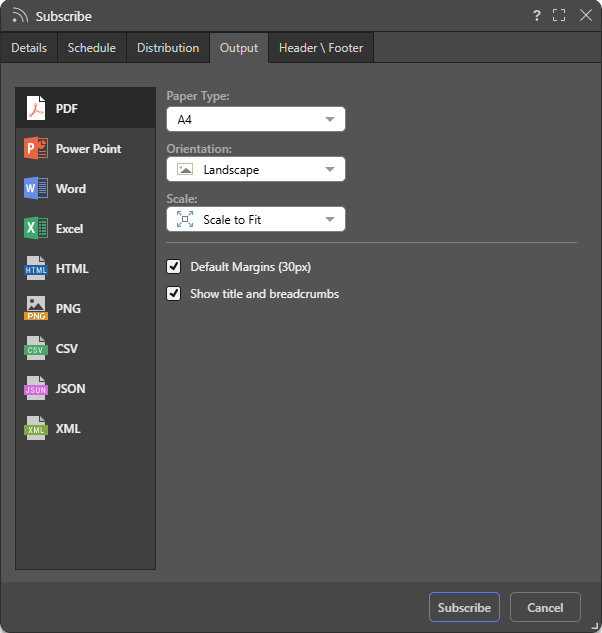
- The options on this page are different for each of Discoveries (where they match print options), Publications, Presentations, and Tabulations.
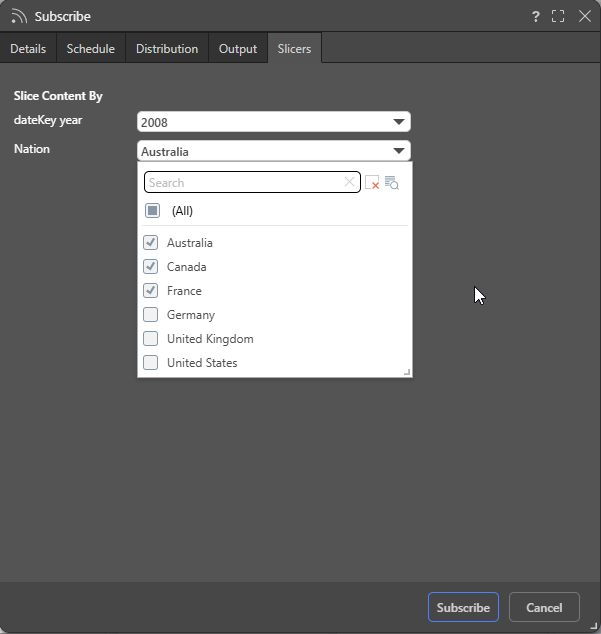
Slicers
For publications, you can click the Slicer tab and select the options from each of the slicers that you'd like to apply to the publication when it is built.
For each slicer, you must select the value or values that will apply when the publication is generated. For example, if you are creating a document for your Mexican team, choose Mexico from the Countries slicer to filter the sales visual to show Mexican data only. For a broader regional report, if your Countries dropdown list allows multiple selections, you can select all South American countries using the multi-select checkboxes instead.
Important: When multiple options are selected from a slicer, the affected content item is filtered to include all of the selected values combined. This means, if you select all South American countries as described above, the sales visual will display data for all the selected countries.
Header \ Footer
Note: The Header \ Footer tab is only available in Discover or in the Viewer when subscribing to a discovery. It is also only shown if one of the relevant Output types is selected.
The options are used to configure the output report's headers and footers:
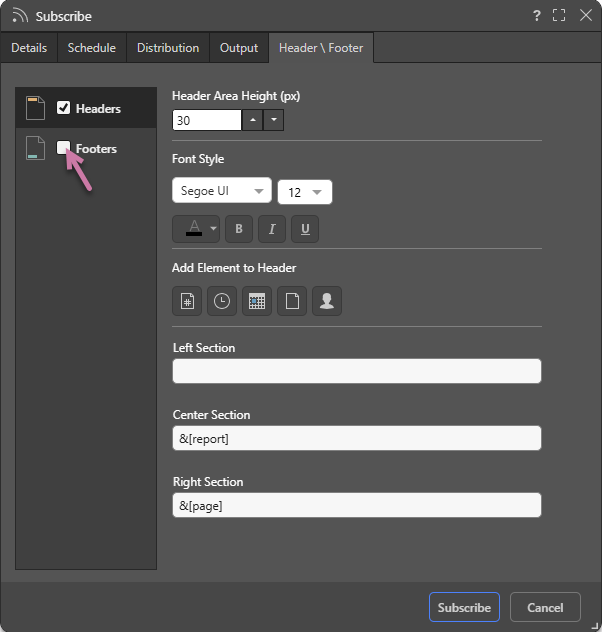
Enable Headers or Footers
- To enable headers, select the Header checkbox.
- To enable footers, select the Footer checkbox (purple arrow above).
Configure Headers or Footers
- Header \ Footer Area Height: Set the area height (in pixels) of the header or footer.
- Font Style: Select the font formatting options, including font type, size, text color (using the Color Picker), and emphasis (bold, italic, or underline).
- Add Element to Header: Use the buttons to copy a variable representing a page number, time, date, report name, or user name into the Left, Center, or Right Section of the header or footer. By default, each is added to the Left Section field, but you can select either Center Section or Right Section to copy the variable into that field instead.
- Sections: Add content to the Left, Center, or Right of the header or footer using the fields: Left Section, Center Section, or Right Section.
Note: The Header \ Footer tab is identical to the one in the Print & Export dialog in Discover.
- Click here to learn more about configuring headers and footers from the Discover help.
Commit the Schedule
Once you've configured its details, click Subscribe to create the subscription.